
A ratchet belt that is too long never looks quite right. You get extra strap where you do not need it, a bulky tail, and a fit that feels less precise than the system was built to deliver. The good news is that trimming it is straightforward if you do it carefully. Done well, you get the sharp, clean finish ratchet belts are known for - close fit, smooth adjustment and comfort that holds all day.
If you have been wondering how to trim a ratchet belt without ruining the strap or damaging the buckle, this guide will walk you through it in plain terms.
Why ratchet belts are designed to be trimmed
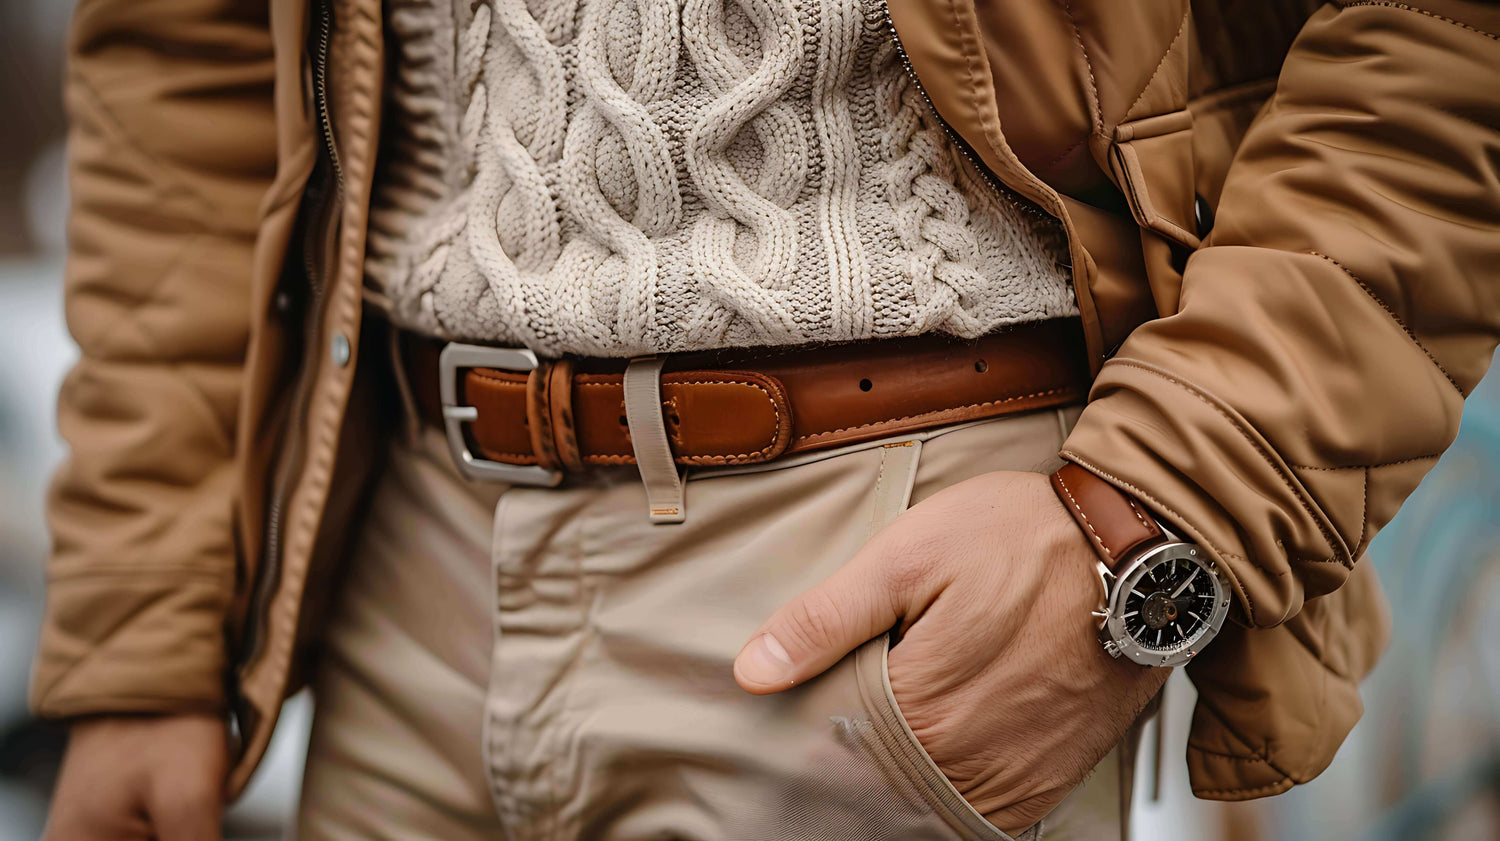
One of the biggest strengths of a ratchet belt is custom sizing. Unlike traditional belts with fixed holes, a ratchet system uses a track built into the back of the strap. That lets you make small adjustments for a neater fit and better comfort through the day.
Because of that design, many ratchet belts are sold slightly longer than you need. It is not a flaw. It is the point. You trim the strap down to match your waist, then the buckle locks into place with the exact amount of belt you actually wear.
That matters for more than appearance. A properly trimmed belt sits cleaner at the front, feeds through the buckle more smoothly and avoids that awkward excess strap that can spoil an otherwise polished look.
Before you trim, check where the cut should go
This is where people make the only mistake that really matters - cutting first and measuring second.
With a ratchet belt, you do not shorten the visible tip end. You trim from the buckle end, where the strap connects into the clasp. That keeps the finished tip intact and preserves the look of the belt.
Most ratchet buckles have a clamp or release mechanism on the back. Open that first and separate the buckle from the strap. Once it is off, look at the back of the belt and confirm where the track begins. You want to remove length from the plain end that sits inside the buckle, not from the tracked section unless the design specifically allows for it.
If your belt came with printed trim marks, use them as a guide. If not, measure manually and take your time.
How to trim a ratchet belt step by step
You do not need specialist kit. A few basic tools and a steady hand are usually enough.
What you need
A tape measure helps most, along with a sharp pair of scissors or a craft knife. A ruler is useful for keeping the cut straight. If the leather is thick, a very sharp blade often gives a cleaner result than blunt scissors.
Measure your best fit first
Put the untrimmed belt on and fasten it where it feels right. If it is far too long to wear properly, estimate the fit by wrapping it around your waist through your usual trouser loops. The goal is to work out how much extra strap sits beyond the buckle when the belt is closed comfortably.
Leave a little margin rather than trimming to the absolute minimum. Ratchet belts are forgiving because of their micro-adjustment, but you still want enough range for heavier trousers, tucked shirts or the occasional change in waist size.
As a rule, trimming slightly less is safer than trimming too much. You can always take off more. You cannot put it back.
Mark the cut line
Lay the strap flat on a solid surface and mark the amount you want to remove at the buckle end. Use a ruler to draw a straight line across the width of the belt. A clean, square cut helps the buckle clamp grip properly and sit flush.
If you are between two estimates, go with the more conservative one. Precision matters here, but caution matters more.
Cut the strap cleanly
Using sharp scissors or a blade, cut straight across the marked line. Try to do it in one controlled pass rather than nibbling away at the edge. A jagged cut can affect how securely the buckle clamps onto the strap.
For leather ratchet belts, a crisp cut keeps the finish looking premium. For synthetic or tactical styles, a clean edge helps prevent fraying or uneven wear.
Reattach the buckle
Open the buckle clamp, slide the freshly cut end of the strap back into place, then close the clamp firmly. Some buckles bite into the strap with small teeth, while others use a locking plate. Either way, make sure it is seated fully and evenly.
Once secured, try the belt on again. Listen for the ratchet mechanism to click smoothly and check that the belt now closes where you want it to. The fit should feel snug, not strained.
Common mistakes to avoid
The biggest one is over-trimming. People often get excited by the idea of a custom fit and remove too much in one go. That can leave the belt with too little adjustment range, especially if your outfit changes through the week.
The second is cutting the wrong end. If you trim the tip end, you can damage the finished look of the belt and in some cases make it unusable.
The third is using dull tools. A rough cut can weaken the connection point or make the buckle sit unevenly. Ratchet belts are engineered for clean performance, so the trim should be clean too.
There is also the issue of fit preference. Some people like a belt closer and more structured, while others want a little more room after meals or during long days at a desk. That is why the best fit is not always the tightest fit.
Leather, tactical and dress ratchet belts - does trimming differ?
The method stays broadly the same, but the material changes how careful you need to be.
With genuine leather, the focus is finish. A straight, crisp cut keeps the belt looking refined and helps the buckle clamp firmly without stressing the leather fibres. Premium leather responds well to a sharp blade and measured pressure.
With tactical belts or woven-backed straps, the concern is edge control. Some materials are tougher to cut cleanly, while others can fray if the edge is ragged. In those cases, a very sharp craft knife is often the better option.
Dress ratchet belts tend to show every detail. If the strap is slim and polished, any uneven cut at the buckle end can affect the buckle alignment. Utility belts are more forgiving visually, but they still need a secure clamp.
When not to trim a ratchet belt
If you are buying a belt as a gift and are not sure of the final waist size, it may be better to leave it untrimmed until the wearer tries it. The same goes if you are between wardrobes, changing trouser rise, or planning to use the belt with both formal and casual outfits.
It also makes sense to pause if the buckle mechanism is unfamiliar. Some designs unclip easily, while others need firmer pressure or a specific release tab. Forcing the hardware can do more harm than the trimming itself.
If you have just received a new belt and are still testing the fit, wear it once or twice indoors before cutting. That gives you a better feel for where it sits naturally.
Getting the best result from the start
A trimmed ratchet belt should not just fit. It should look like it was made for you. That means keeping the cut straight, preserving enough adjustment range and making sure the buckle grips the strap without twisting.
It also helps to think beyond waist measurement alone. The trousers you wear most, whether you carry items in your pockets, and how you like a belt to sit all affect the final fit. Micro-adjustment gives you flexibility, but the initial trim still sets the foundation.
At BeltBuy, that trimmable design is part of what makes ratchet belts such strong everyday performers. You get the cleaner line of a modern buckle, the comfort of precise adjustment and the confidence of a belt built to hold through long hours of wear.
A better fit is the whole point
Learning how to trim a ratchet belt is less about cutting leather and more about unlocking the fit the belt was designed to give you. Take a little off, test it properly, and stop before you get ambitious. A belt that closes cleanly, sits comfortably and looks sharp every time is worth the extra two minutes of care.